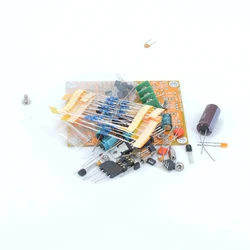

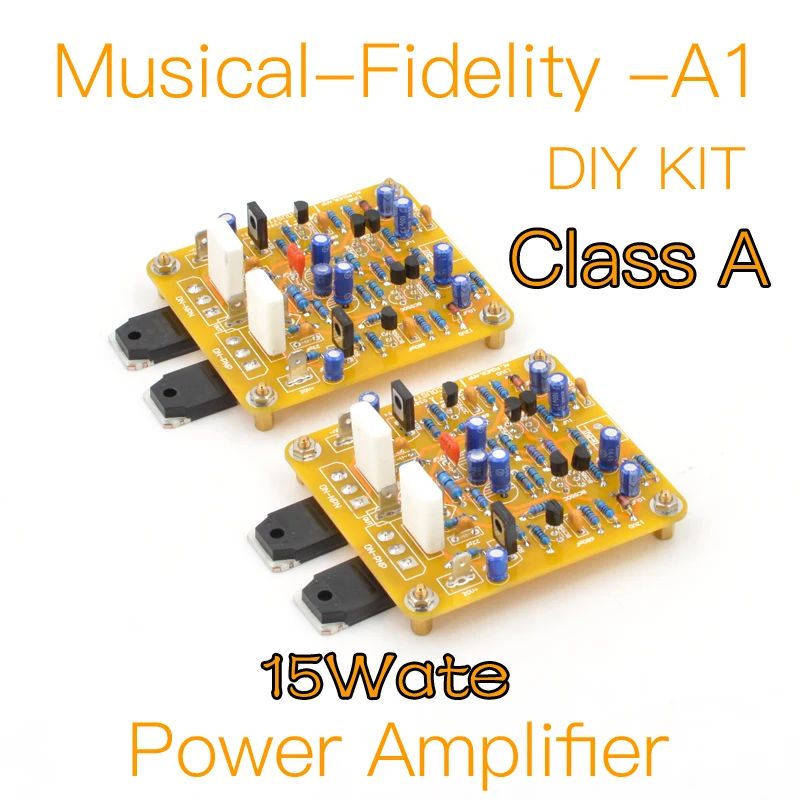


MOFI- Musical-Fidelity -A1 Class A Power Amplifier DIY KIT & Finished Board
💍 The MOFI- Musical-Fidelity A1 Class A Power Amplifier offers both a DIY KIT and a Finished Board option, catering to audio enthusiasts and DIY aficionados. Whether you are embarking on an enriching hands-on project or looking for a professionally assembled amplifier, this product delivers exceptional sound quality and performance.
DIY KIT Project
⚡ Embarking on this project requires advanced knowledge of electronics along with significant experience in soldering and circuit testing. Given the complexities involved, most troubleshooting will be your responsibility, as we offer limited technical support due to potential language and time zone barriers. Reference materials are restricted to the product introduction page.
💍 This DIY KIT is grounded in the architectural brilliance of the original Musical-Fidelity A1 Power Amplifier, delivering a profound audio experience through meticulous engineering and design.
Technical Highlights:
📦 Specifications:
🏆 Product Configuration:
💍 The DIY KIT includes the necessary PCB alongside all components required for assembly, allowing for two output power configurations: 15W and 20W. The Finished Board, on the other hand, is meticulously assembled based on a thoroughly tested standard version of the kit. Each key point’s voltage is verified, and analog waveform assessments are conducted using a signal generator and oscilloscope, ensuring top-notch reliability, though audio listening tests are not performed on this board.
🛠️ All finished PCBs are hand-soldered with precision and thoroughly tested to ensure optimal performance. This meticulous process leads to an increased price point compared to the DIY KIT, making the KIT more suitable for cost-sensitive consumers who possess the necessary DIY skills.
Schematic & Debugging Guidelines:
🔍 The PCB comes equipped with clearly marked component parameters for straightforward installation. For depth, only the schematic pertaining to the amplification circuit is referenced; users are encouraged to interpret complete circuit parameters independently from the component values listed on the PCB.
🪶 Ensure that test point voltages remain within a ±20% tolerance range to ensure reliable operation.
DIY KIT Instructions:
💍 Due to the PCB's plated-through holes, soldering should be done from the bottom side of the board. Avoid drilling or enlarging holes, as this could jeopardize the integrity of the plating.
🔁 Begin by cleaning the PCB surfaces with isopropyl alcohol or electronics flux remover. Assemble components from the smallest to largest to facilitate ease of work. Always double-check that the correct components are placed in their respective positions by verifying resistor values with a multimeter.
💍 After soldering, remove any residual solder flux using isopropyl alcohol and a brush. Conduct an exhaustive visual inspection of all solder joints to identify potential issues such as solder bridges or cold solder joints. It's critical to verify continuity between V+ and V- DC inputs, ensuring they aren't shorted to ground or to each other, along with confirming the output pad is not shorted as well. Resolve any discrepancies before moving on to subsequent steps.
Tips:
Parts List:
Available upon request or through the product page.
Visuals: Pictures of both the DIY KIT and Finished Board are provided for reference.
Hvis denne varen ankommer etter leveringsdatoen som er oppgitt i kassen, vil du bli tilsendt en kredittkupong på €6,00 som du kan bruke på din neste bestilling